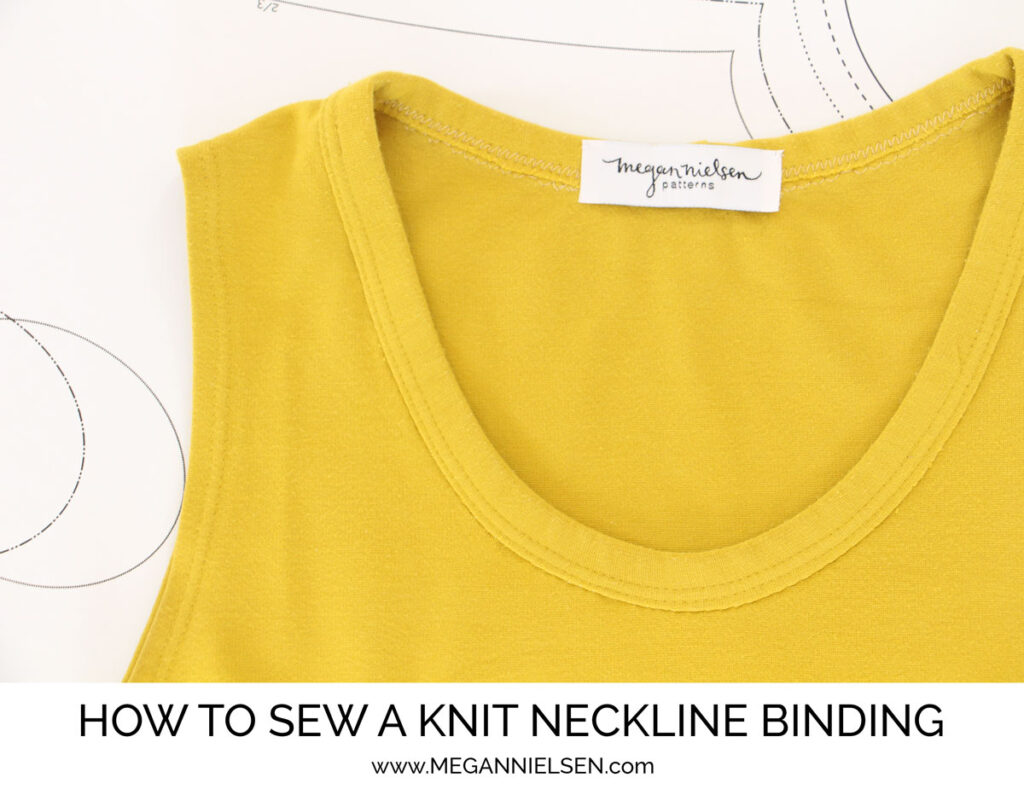
Today we’ll cover how to add a neckline binding. Unlike a neckline band, fabric is used to bind and enclose the raw edges of the neckline, rather than being attached to the neckline edges.
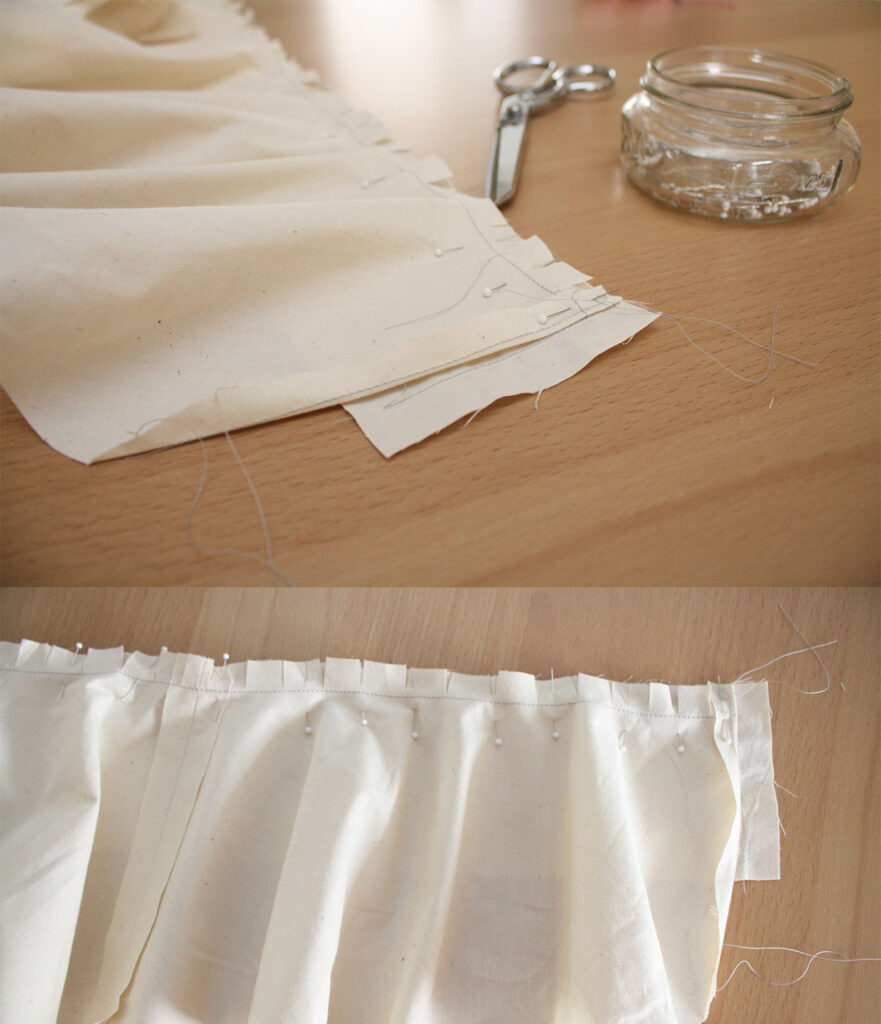
This neckline technique works really nicely on the Briar sweater and tee, Mini Briar sweater and tee, and Cara maternity tee sewing patterns. To make things easy, we’ll use the binding pattern piece from the Briar pattern. If you are using another pattern, you would cut a binding strip that is either the same length as the circumference of your neckline (measured along the stitch line, not the raw edge), or an inch or so shorter. I prefer to make it a bit shorter, as I find it conforms to the curve better, but most instructions will tell you to cut the exact same length. Okie dokie, let’s get going! 1. Fold your binding strip in half lengthwise, and sew 5/8″ from the edge on the raw edge. You may use a serger/overlocker or a zig zag stitch on a regular machine. Press seam flat. 2. Make sure to mark your notches and centre front and back on the binding piece and the t-shirt neckline. 3. Match up the notches and pin the binding to the neckline with right sides facing each other. Ease the binding into the curve as you go. 4. Sew 1/2″ from the neckline edge all the way around. (You may choose a different width if you like, but I prefer a chunkier look.) 5. Turn your top inside out. (P.S. Don’t forget to use a stretch or ballpoint needle! I forgot to change my needle and left my denim needle in, which was a big mistake – check out those crazy skipped stitches!)